
If you are just starting your journey into home education, you might feel a little bit of uncertainty when you think about science. Maybe you have visions of expensive glass beakers, bubbling chemicals, and high tech microscopes that cost as much as a monthly mortgage payment. It is completely normal to feel a bit overwhelmed or even unqualified to teach these topics. We often carry around the idea that science has to happen in a sterile, white walled room with special equipment. But I want to let you in on a little secret: your kitchen table is already the most sophisticated lab your child will need.
The transition away from a traditional classroom is all about reclaiming the natural curiosity your children already possess. When we focus on STEM activities for kids, we are not trying to recreate a school building in our dining rooms. Instead, we are creating a space where “why” is the most important word and where mistakes are just a natural part of the discovery process. Science is not a list of facts to memorize, it is the way we interact with the world. Whether you are living in a tiny apartment or have a big backyard, you can build a low cost homeschool science lab that invites wonder into your daily rhythm.
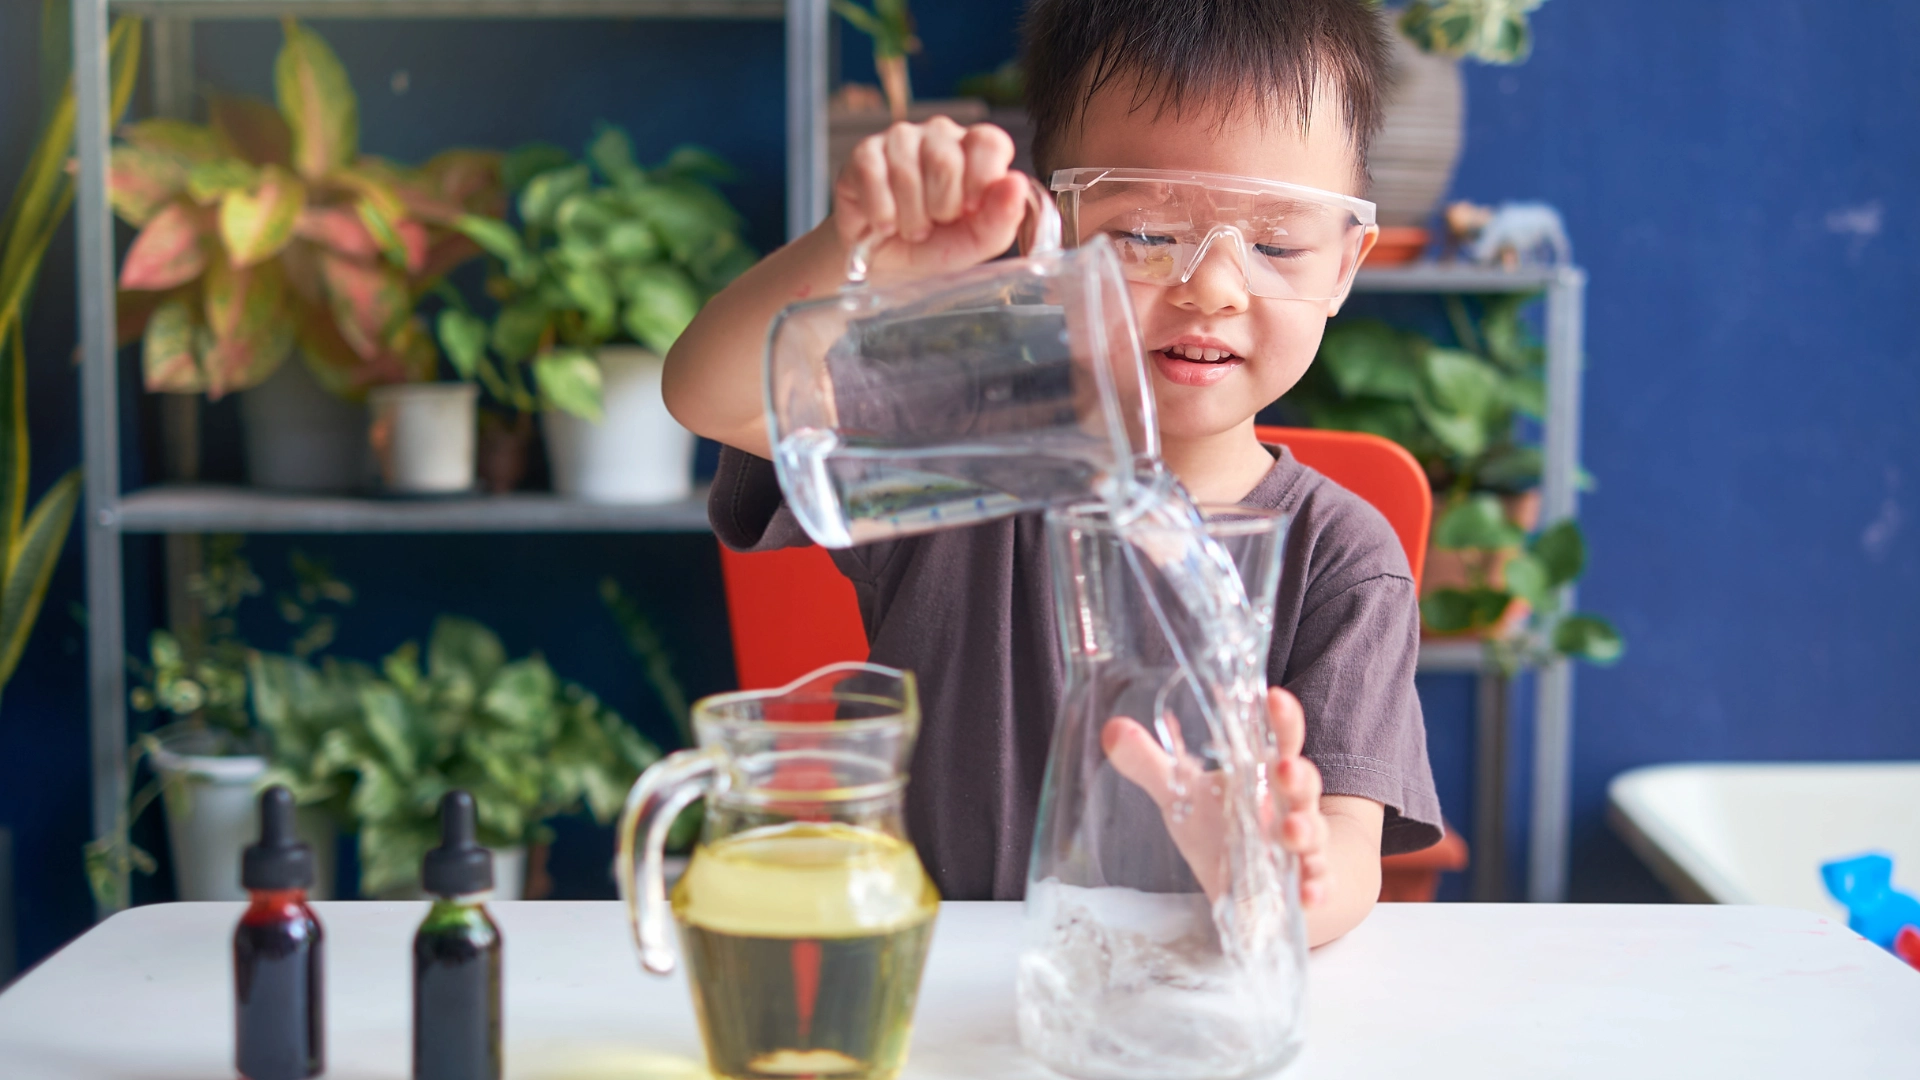
What is a Homeschool Science Lab Anyway?
Before we start gathering supplies, let’s redefine what a “lab” looks like for a homeschooling family. In a traditional setting, a lab is a place where students follow a specific set of instructions to reach a predetermined result. In our world, a lab is simply a designated spot where it is okay to get a little messy. It is a “wonder station” where your child can explore STEM activities for kids without the pressure of a ticking clock or a letter on a paper.
A home lab might be a plastic bin tucked under the sink, a dedicated shelf in the garage, or just a sturdy tray that comes out during the morning flow. The goal is to provide tools that help your children look closer, ask deeper questions, and test their own ideas. This child led approach is at the heart of what we believe at LearningHub.com, where we focus on supporting the natural growth of every learner through exploration and joy.
Your lab is a mindset of curiosity, not a collection of expensive gadgets.
Gathering Your Basics From the Pantry
The best part about building a science lab at home is that you probably already own 80 percent of what you need. The most exciting chemical reactions and physical explorations happen with items you use to bake cookies or clean the floors. When you approach science from a place of freedom and flexibility, you realize that the world is your classroom.
Here is a list of low cost essentials to keep in your “pantry lab”:
- Glass Jars and Clear Cups: These are perfect for observing liquid density, growing crystals, or watching seeds sprout. Old pasta jars work perfectly and cost nothing.
- Baking Soda and White Vinegar: The kings of kitchen chemistry. These two items alone can power dozens of experiments, from “erupting” volcanoes to inflating balloons without using your breath.
- Cornstarch: Essential for making “oobleck,” a fascinating non Newtonian fluid that acts like both a solid and a liquid.
- Food Coloring: For tracking how water moves through a celery stalk or for making “magic milk” experiments.
- Coffee Filters: These are great for chromatography experiments, where you can separate the colors in a marker to see what they are really made of.
- A Magnifying Glass: One of the few things worth buying. A simple, sturdy hand lens allows a child to see the tiny veins in a leaf or the hairs on a spider’s leg.
As you gather these, remember that the goal is to make these materials accessible. If your child has to ask for permission to touch a jar, they might be less likely to experiment. Consider keeping a “yes” basket filled with safe, low-cost items that they can use whenever inspiration strikes. For more ideas on how to keep the excitement alive, you can explore 10 homeschool activities to keep learning fresh and fun, which highlights how variety and hands on play can transform your day.
The Ultimate Hack: Free Virtual Interactive Science Labs
While pantry science is incredibly fun, what happens when your child wants to explore something you can’t safely or affordably recreate at home? What if they want to dissect a frog, test the limits of gravity, or mix volatile elements?
This is where your homeschool lab goes digital. You don’t need to buy expensive, one-time-use dissection kits or complex physics equipment. At LearningHub.com, we offer completely free, interactive virtual science labs.
Virtual labs are the perfect low-cost solution because they require zero setup, zero cleanup, and absolutely zero budget. Kids can run experiments multiple times, making mistakes and trying again without wasting any physical materials.
The Power of Hands On Science Activities
Children learn best when their hands and minds are busy. By combining physical DIY projects with virtual interactive labs, you are giving them a well-rounded STEM education for little to no cost.
Here are three simple physical activities to try alongside your virtual learning this week:
- The Index Card Bridge: Give your child a stack of index cards and masking tape. Challenge them to build a bridge between two books that can hold the weight of a toy car.
- The Solar Oven: On a sunny day, use a pizza box, aluminum foil, and plastic wrap to create a solar cooker and melt a marshmallow.
- Water Filtration: Use a cut plastic bottle, cotton balls, sand, and gravel to create filtration layers for muddy water.
By focusing on these types of projects, and supplementing them with Learning Hub’s virtual labs, you are showing your child that they have the power to solve problems and understand complex systems.

Finding Your Rhythm and Flow
One of the biggest hurdles for parents transitioning to homeschooling is the feeling that they must “do school” from 8 in the morning until 3 in the afternoon. When it comes to your science lab, this structure can actually stifle creativity. Science often happens in the “in-between” moments.
Embracing a flexible schedule allows your lab to be “open” whenever curiosity is high.
A Simple, Flexible Routine: * Morning Observation: Spend five minutes looking at a “nature tray” or checking on a physical experiment.
- Afternoon Exploration: Log into LearningHub.com and let your child independently run a free virtual lab. (Be sure you have Playlist open)
- Evening Reflection: Talk about what you noticed during the day. No tests, just talk.
Managing your time in a way that feels peaceful and productive is key to avoiding burnout. Science doesn’t need a rigid period on the schedule; it needs space to breathe.
Building Your Village and Community
You do not have to build this lab alone. One of the best ways to keep costs low and excitement high is to connect with other homeschooling families. Maybe you have a great collection of magnets, and your neighbor has a high-quality microscope. By forming a small co-op or just a weekly “science club” at the park, you can share resources and ideas.
Connecting with others also provides a social outlet for both you and your children. It allows kids to collaborate on larger STEM activities for kids, like building a giant cardboard fort or launching water rockets. For many parents, finding this community is the “secret sauce” that makes homeschooling sustainable. You can learn more about how to find these connections in our article on homeschool socialization and finding your tribe.
When you share the journey, the “work” of setting up a lab feels much lighter. You might find that another parent has a great lead on where to find low-cost supplies or a local scientist who is willing to do a “show and tell” at the library. For more resources on finding community, The Homeschool Mom is a fantastic resource for connecting with local groups and finding general support.
Organizing Your Low-Cost Lab Space
The biggest fear most parents have when building a home lab is the clutter. But organization doesn’t have to mean buying a wall of expensive cabinets. It just means having a “home” for the tools.
- Shoe Boxes or Plastic Tubs: Label one for “Chemicals” (baking soda, vinegar), and one for “Recyclables” (tubes, jars).
- A “Works in Progress” Shelf: Give your child a designated spot where they can leave a half-finished project.
- The Virtual Dashboard: Save space entirely by bookmarking your child’s favorite interactive labs on Learning Hub. No cleanup required!
- The Science Journal: A simple spiral notebook where your child can draw what they see or record results from their virtual experiments.
For more on how to foster this kind of reflection, you might find our article on homeschool journaling for growth very helpful. It explains how a simple notebook can become a treasure trove of your child’s intellectual journey.
Trusting the Process
Building a low cost homeschool science lab is about building confidence—both yours and your child’s. You are showing them that you don’t need a fancy building or a “teacher” to understand the world. You just need curiosity and willingness to try.
There will be days when the “experiment” is a total flop. The volcano won’t erupt, the seeds won’t sprout, and the bridge will collapse instantly. In those moments, remember that you are still “doing science.” Asking “why didn’t that work?” is more important than getting it right the first time. This resilience is what will serve your children well throughout their lives.
As you move away from the “standards” of traditional schooling, lean into the freedom of your home. You are creating a childhood filled with exploration and discovery. For more encouragement on the importance of “green time” over “screen time” in your science journey, the resources at 1000 Hours Outside are a beautiful place to start.
Science is waiting in the ripples of a puddle, the bubbles in a glass of soda, and the digital simulations right at your fingertips. Your home lab is already open. All you have to do is step inside.
Ready to help your child explore the wonders of the world with zero mess and zero cost? At LearningHub.com, we offer flexible lessons, interest-based playlists, and engaging virtual tools to support child-led learning.
References
Raising Lifelong Learners. (n.d.). What Exactly is Deschooling.. and Do I Need to Do It? Retrieved from https://raisinglifelonglearners.com/deschooling/
The Homeschool Mom. (n.d.). The Homeschool Mom: Homeschooling Resources and Support. Retrieved from https://www.thehomeschoolmom.com/
1000 Hours Outside. (n.d.). Match Screen Time with Green Time. Retrieved from https://www.1000hoursoutside.com/
Suburban Science. (n.d.). 5 Biology Labs You Can Do with Household Items. Retrieved from https://suburbanscience.com/5-household-biology-labs/

